Okinawa Wooden Pen Workshop: Craft a Keepsake from Local Wood
There are souvenirs you buy and souvenirs you make. At this wooden pen workshop on Okinawa’s main island, you’ll turn locally grown wood into a pen you’ll actually use every day, infused with the island’s craft culture and your own handiwork. This experience is ideal as a meaningful gift or a personal keepsake that will remind you of Okinawa every time you pick it up.
Quick Facts: Workshop at a Glance
- Location: Okinawa Main Island – Tomigusuku (Okinawa Craft Industry Promotion Center)
- Duration: approx. 1.5–3.5 hours, depending on the course you choose
- Schedule: morning, afternoon, and evening time slots, available most days
- Recommended age: generally 10 years and up; adult and child pricing are usually the same
- Languages: support is typically offered in Japanese, with some English and other languages available on certain plans.
- What’s included: wood material, pen hardware set, use of the facilities and tools, instruction, and basic insurance.
Inside Okinawa Craft Village: Home of the Workshop
The workshop is held at Okinawa Craft Industry Promotion Center (often called Okinawa Craft Village), a modern complex in Tomigusuku city that showcases the island’s craft heritage.
Here you’ll find:
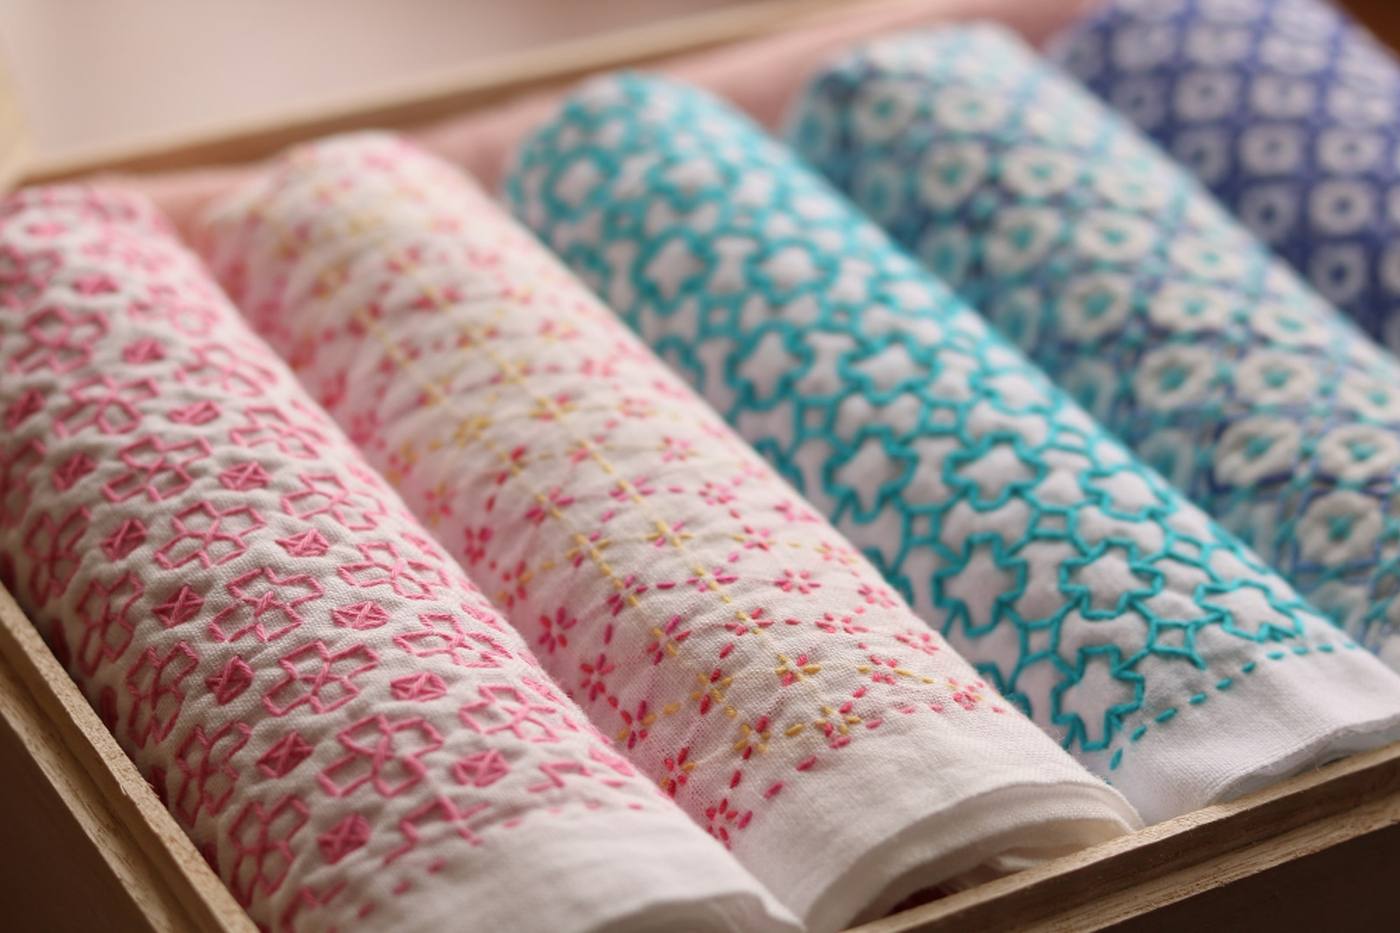
- galleries featuring traditional crafts like Ryukyu textiles, lacquerware, and ceramics
- studio spaces where artisans create and teach
- shops selling locally made pieces that make excellent souvenirs
The building is bright, clean, and contemporary, with white gallery spaces that feel more like a design museum than a typical souvenir shop.
Convenient access from Naha Airport
The center is about a 14–15 minute drive from Naha Airport, making this workshop an easy add-on at the start or end of your trip.
- Transport: reach it by rental car, taxi, or local transport.
- Pick-up: transfers are not included, so you’ll go directly on your own.
Which Course Should You Choose?
You’ll usually see a few different options. Names and prices can vary slightly, but these are the main types:
1. Pen Making & Shaving Experience (Full Course)
- Duration: approx. 2–3 hours
- What you do:
- use a wood lathe to carve your pen barrel to your preferred shape
- sand, finish, and assemble your pen from start to finish
- Best for: adults, teens, and anyone who wants the full “I made this myself” experience
This course lets you decide on a slim, minimalist silhouette or a chunkier, ergonomic shape. You’ll see the raw block of wood gradually become a perfectly balanced writing instrument.
2. Pen Polishing Experience (Shorter Course)
- Duration: around 1–1.5 hours
- What you do:
- start with a pre-shaped pen barrel
- focus on sanding and polishing to bring out the grain
- Best for: beginners, younger participants, or travelers with limited time
It’s a gentler, less technical option that still gives you a beautiful, personalized pen.
3. Pen & Keychain Combo
Some providers also offer a combo where you make both a wooden pen and a matching keychain from the same wood, ideal for gift sets or couples’ souvenirs.
Step-by-Step: How Your Pen Is Made
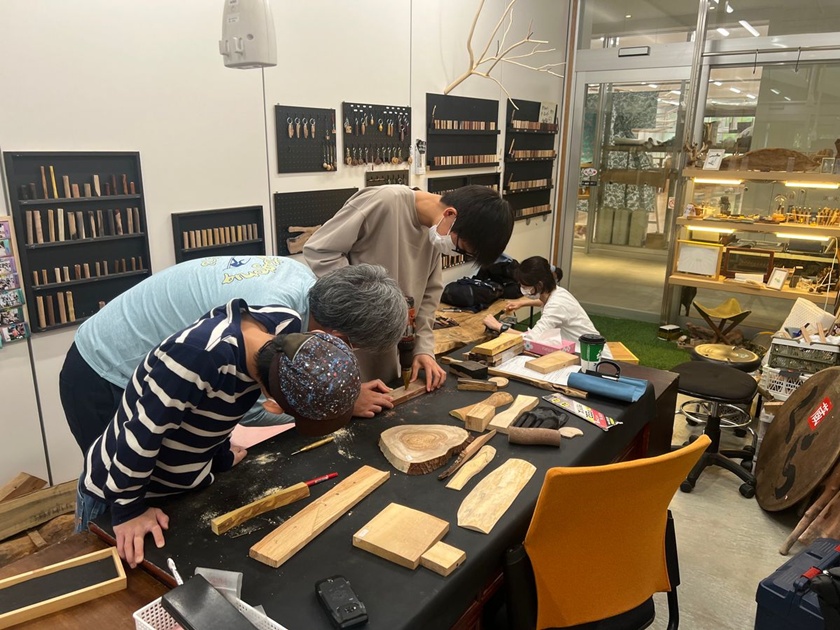
Step 1 – Choose Your Pen Style & Wood
When you arrive, the staff will guide you through the samples so you can:
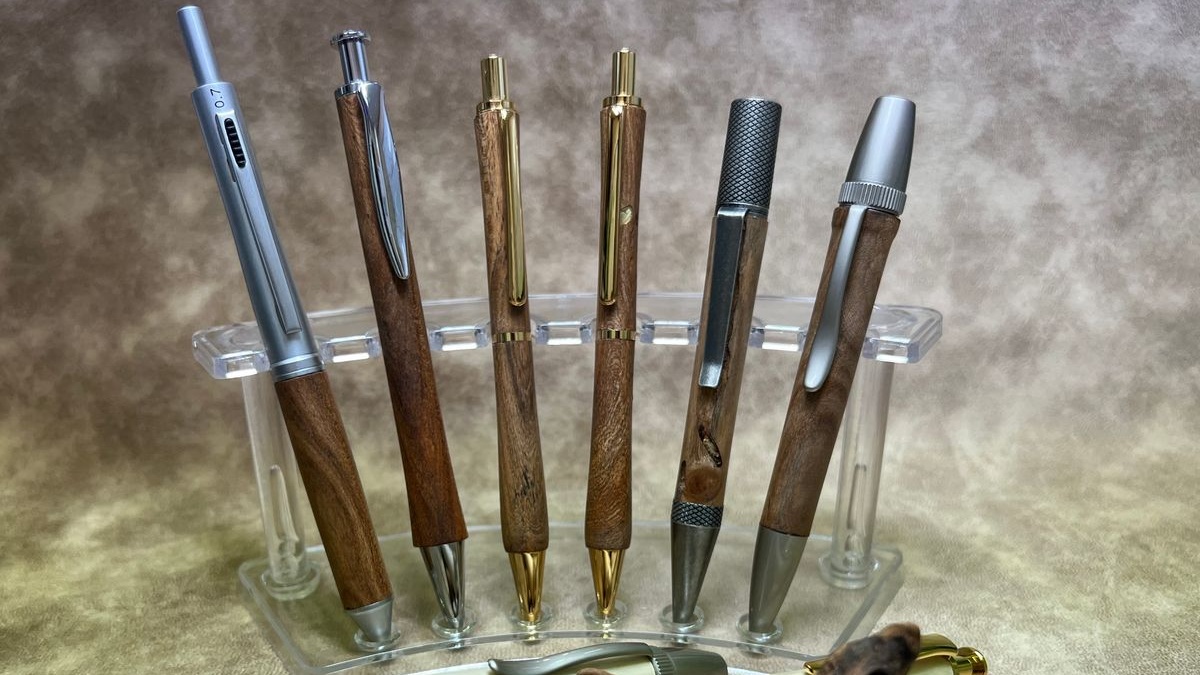
- Pick your pen type – typically a ballpoint pen, with optional upgrades to a fountain pen or mechanical pencil for an extra fee.
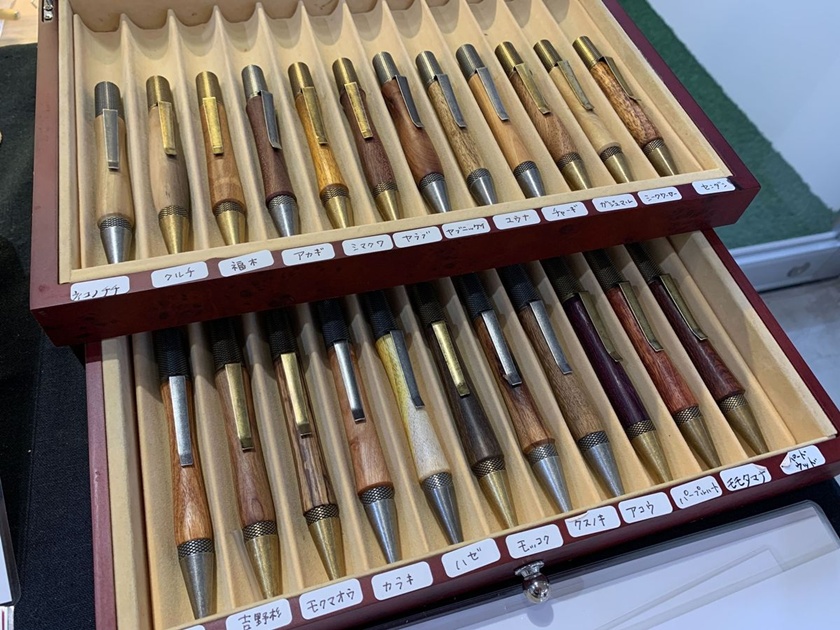
- Select your wood – from pale, subtle grains to dark, dramatic patterns, and occasionally unique purplish tones mentioned in guest reviews.
This is where your pen’s personality begins.
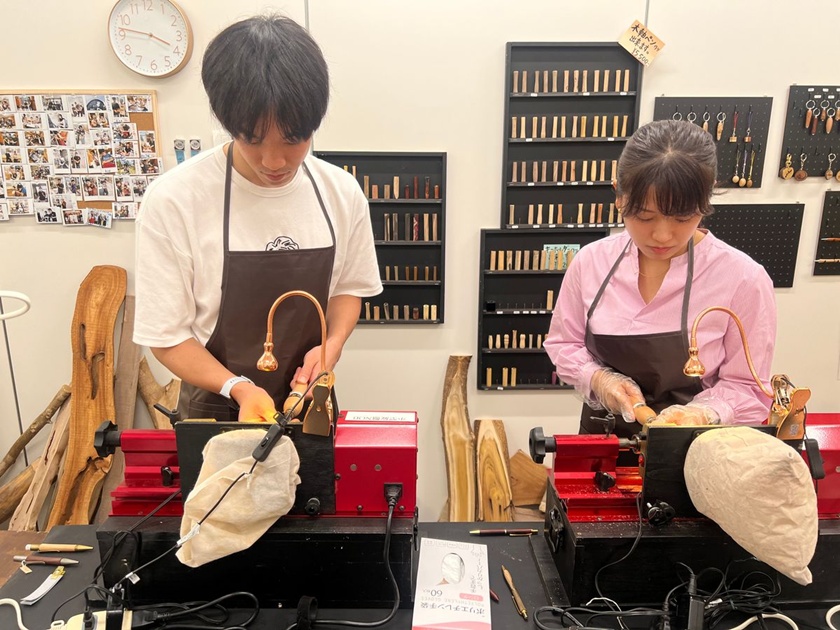
Step 2 – Shaping on the Lathe
For full courses, you’ll use a woodworking lathe to carve your pen barrel:
- learn how to safely handle the cutting tools
- gently shave the wood as it spins, watching shavings curl away
- decide whether you want straight, curved, or something more sculptural
Even if you’ve never touched a lathe before, staff guide you through every step, making it beginner-friendly.
Step 3 – Sanding: Revealing the Grain
Next, you’ll move through several grades of sandpaper:
- start with a coarser grit to remove tool marks
- finish with finer grit until the surface feels silky smooth
With each pass, the grain becomes more defined and the form more refined. Guests often comment that time “flies by” once they get absorbed in this stage.
Step 4 – Finishing & Waxing
To protect and beautify the wood, you’ll apply finishes such as oils or waxes:
- deepen the natural color of the wood
- add a gentle sheen without making it slippery
- provide light protection from daily use
A final wax buff gives the pen that soft glow you see in fine wooden tableware and cups.
Step 5 – Assembly
Finally, you’ll press in the metal components and ink refill with a simple machine:
- align the hardware with your wooden barrel
- press them together for a snug, professional fit
When it clicks into place, you’re holding a fully working, one-of-a-kind pen made with your own hands.
Who Will Love This Experience?
Creative travelers & stationery fans
If you love sketchbooks, nice notebooks, or browsing pen shops, this is your dream activity. You don’t just buy a special pen—you design and craft it.
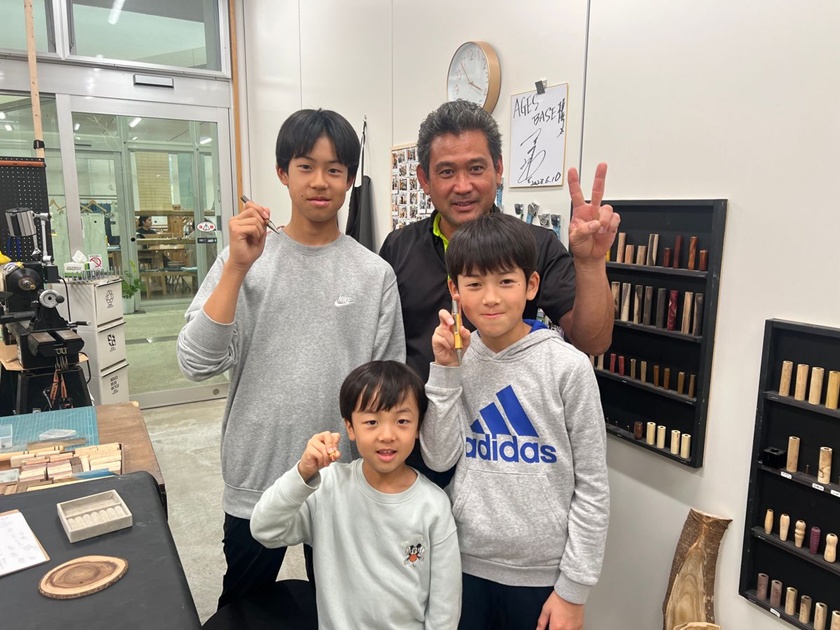
Families with older kids
The recommended age is around 10+, which makes it a great choice for families with tweens and teens. Parents and kids can each design a different pen or work on matching sets. Reviews often mention that families enjoyed the workshop together and appreciated the patient, friendly guidance from staff.
Couples & small groups
Couples can create complementary pens or share one piece of wood for a matching pair—very cute as anniversary or honeymoon keepsakes. Friends traveling together can each make pens as gifts for people back home.
Practical Tips for Your Visit
What to wear
- Comfortable clothes that you don’t mind getting a bit dusty
- Closed-toe shoes are best for safety around equipment
- Tie back long hair and avoid dangling jewelry
Aprons or protective gear are typically provided where needed, but it’s good to dress casually just in case.
Booking & timing
- Book ahead for weekends, holidays, and school vacation periods.
- Morning sessions are great if you want time left for other activities.
- Evening sessions can be a relaxing end to the day.
Most listings show real-time availability and exact time slots, usually spread between morning and evening.
Looking after your pen back home
- Keep it dry; avoid soaking or leaving it in very humid or hot environments.
- Occasionally wipe it with a soft cloth.
- If the finish is oil-based, a tiny amount of suitable wood oil once in a while can refresh the sheen (check with staff for specifics).
Over time, your pen will develop a gentle patina, becoming more beautiful with use—just like other Okinawan wooden crafts.
How to Book Your Okinawa Wooden Pen Workshop
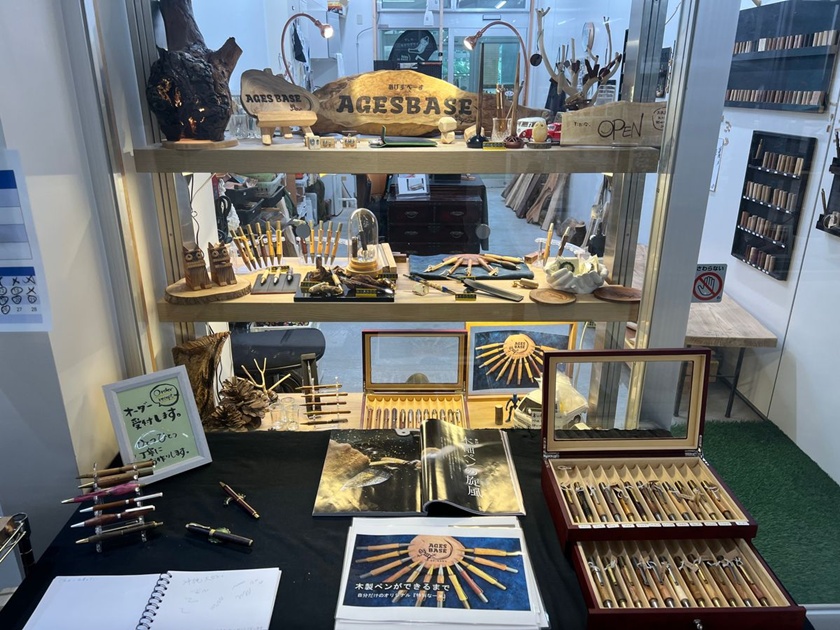
You can reserve this experience online through activity sites that partner with the AGESBASE woodworking studio at the Okinawa Craft Industry Promotion Center. Listings typically include:
- live availability
- multilingual support options
- details on each plan (shaving, polishing, or combo)
- current pricing and any seasonal offers
Frequently Asked Questions (FAQs)
Ink About It Now!
If you’re done with basic, airport-gift-shop energy and ready for something more personal, this workshop is your sign (literally) to level up your souvenir game. Choose your wood, shape your style, and walk out with a pen that’s as one-of-a-kind as your trip.